How to Customize Cars in CPM 2
Written by David Kalin · Gaming reviews and blog writer · Last reviewed: October 2026
!Customize cars in Car Parking Multiplayer 2
I spent my first week in Car Parking Multiplayer 2 driving a completely stock sedan while everyone at the car meet rolled up in widebody Supras with liveries that looked airbrushed by professionals. My car wasn’t slow — it was invisible. That’s when I learned the truth about CPM 2: customization isn’t decoration here, it’s half the game.
The fastest way to customize a car in CPM 2 is to open your garage, select a car, and work through the tuning menu in this order: paint and exterior first, then the livery editor, then wheels and body kits, and finally performance parts — because visual changes are cheap and reversible, while engine swaps and suspension setups cost serious in-game cash and change how the car drives.
This guide walks through every customization system in CPM 2: exterior paint, the multi-layer livery editor, wheels and body kits, performance tuning (engines, suspension, gearboxes), the dyno run feature, and interiors. I’ll also flag which upgrades are worth your money early and which can wait.
How Customization Works in CPM 2
Customization lives in the garage. Select any car you own and you’ll find the tuning menu split into two broad areas: visual (paint, liveries, body kits, rims, spoilers) and performance (engine, turbo, gearbox, suspension, brakes, tires). Visual mods change how the car looks; performance mods change how it drives — acceleration, top speed, handling, and even fuel consumption.
One thing worth knowing upfront: CPM 2’s tuning is deeper than the original game’s. Adjustable suspension with ride height and spring/damper settings, wheel camber angles, manual transmission with a working clutch, engine swaps, and a dyno run to measure your gains — this is closer to a sim tuner than an arcade paint shop. The tradeoff is that mistakes cost money, so it pays to understand each system before spending.
Step 1: Paint and Exterior (Start Here)
Paint is the cheapest transformation in the game and the right place to start. A full respray costs a fraction of a body kit, and you can redo it as many times as you like while you experiment with your style.
CPM 2’s paint system goes beyond flat colors — expect metallic, matte, and pearlescent finishes depending on the update. My rule: pick a base color that works with the livery you plan to add later. Dark bases (black, navy, deep green) make bright decals pop; white and silver bases suit clean JDM-style builds with minimal graphics.
Don’t sleep on the small exterior details either. Headlight tints, window tints, and license plate styles are cheap mods that make a car look finished rather than “fresh out of the dealership.” These are the details other players actually notice at car meets.
Budget guideline: spend under 10,000 in-game cash on your first paint job and tints. Save the big money for performance parts.
Step 2: The Livery Editor (Where Cars Become Yours)
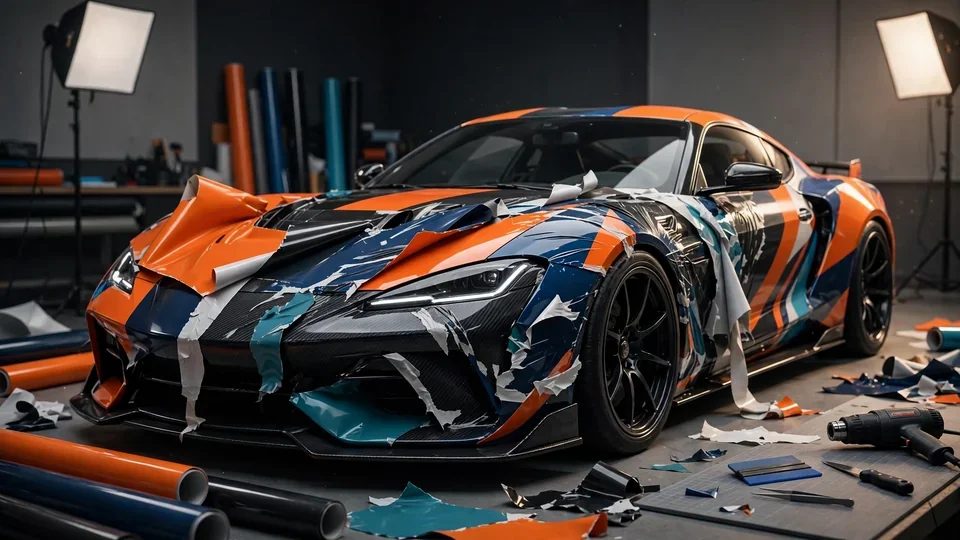
The livery editor is CPM 2’s standout customization feature: a multi-layer vinyl system that lets you place decals, shapes, and graphics across every body panel. Want racing stripes down the hood? Sponsor-style door graphics? A full anime wrap? It’s all possible if you’re patient enough to layer it.
Here’s how to get good results without losing an afternoon:
- Plan on paper first. Decide on 2–3 colors and one theme (racing, street, clean OEM+) before touching the editor. Random layering looks messy.
- Use symmetry. Most great liveries mirror left-to-right. Build one side, then mirror it.
- Layer order matters. Base shapes go down first, details and outlines last. Think of it like painting a real car.
- Less is more for daily drivers. A clean two-tone with a single accent stripe photographs better at meets than 40 overlapping decals.
The editor rewards patience: players who spend 30–45 minutes on a livery end up with cars that get compliments in multiplayer lobbies, which — let’s be honest — is half the point.
Step 3: Wheels, Body Kits, and Stance
Once paint and livery are sorted, move to the silhouette: wheels, body kits, and spoilers. These change the car’s stance more than anything else.
- Rims: Bigger isn’t always better. Oversized rims on a car with stock suspension looks unfinished; match rim size to your ride height.
- Body kits: Widebody kits are the single most dramatic visual change available. They widen the fenders and completely change the car’s proportions. If you only buy one expensive visual mod, make it this one.
- Spoilers: Functional looks aside, spoilers are mostly visual in CPM 2 — pick the one that matches your build theme.
Then there’s stance: ride height and wheel camber. Lowering the car and adding slight negative camber gives that aggressive fitted look the car-meet crowd loves. But remember — extreme camber and slammed suspension change handling, which brings us to performance.
Step 4: Performance Tuning (Where Money Meets Physics)
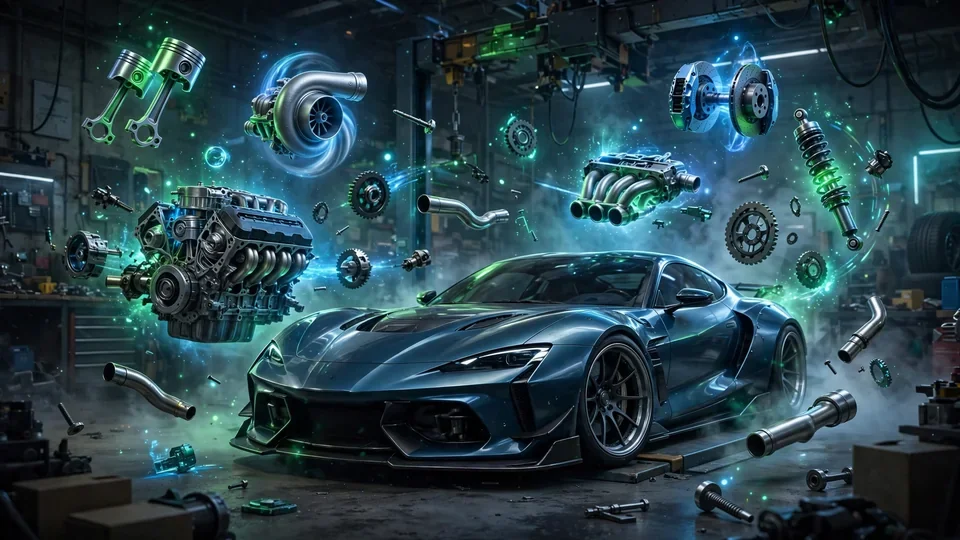
This is where customization stops being cosmetic. Every performance part changes how the car behaves, and CPM 2’s physics will punish thoughtless upgrades.
Engine swaps are the headline act — dropping a V8 or W12 into a car transforms its character completely. But a 1,000+ HP engine in a chassis with stock brakes and tires is a crash waiting to happen. Always upgrade in this order:
- Tires and brakes first. Grip and stopping power are the foundation. No point making power you can’t put down or stop.
- Suspension second. Adjustable ride height, spring rates, and dampers. Stiffer isn’t always faster — match the setup to how you drive (grip racing vs. drift).
- Engine and turbo third. Now the power has something to work with.
- Gearbox last. Manual with clutch gives the most control (and the fastest shifts once you learn it); automatic is fine while you’re learning.
The golden rule of CPM 2 tuning: never spend more than 40% of your total car budget on the engine alone. A balanced 400 HP build will beat a sketchy 800 HP build in every race that isn’t a straight line.
Suspension: The Setting Everyone Gets Wrong
Adjustable suspension deserves its own callout because it’s the most misunderstood system in the game. Lower ride height reduces body roll and looks great, but go too low and you’ll bottom out and lose traction over bumps. Stiffer springs sharpen turn-in but make the car nervous on rough surfaces.
Start with the default sport preset if the game offers one, then adjust one setting at a time. Change ride height, drive for 10 minutes, then touch spring rate. Changing three things at once means you’ll never know which one fixed — or ruined — the handling.
Step 5: Use the Dyno Run Before You Race
CPM 2 includes a dyno run feature that measures your car’s horsepower, torque, and RPM curves after upgrades. Use it. Every time.
The dyno turns guesswork into data: you’ll see exactly how much power that turbo added, where in the rev range it arrives, and whether your gearbox ratios actually suit the new powerband. I wasted thousands of in-game cash on upgrades that looked good on paper but did nothing for my quarter-mile times — all because I skipped the dyno.
Workflow: upgrade → dyno run → note the numbers → adjust → dyno again. Two minutes on the dyno saves hours of “why is my car slower now?” confusion.
Step 6: Interiors and Character (The Roleplay Layer)
CPM 2 supports detailed interiors with working dashboard gauges and cockpit driving views, plus interior upgrades you can download and install. If you drive in cockpit view, a clean interior is worth the investment; if you only use chase cam, skip it.
Don’t forget your driver either — character customization (outfits, accessories, animations, emojis) is part of the multiplayer experience. At car meets, your avatar is standing next to your car. Dress accordingly.
What Customization Costs (Realistic Budgeting)
Costs scale with the car and the part tier. As a rough framework for planning:
- Starter visual refresh (paint, tints, plates): under 10,000 cash
- Full livery + rims + spoiler: 25,000–60,000 cash depending on parts
- Widebody kit: one of the priciest visual mods — budget 50,000+ cash
- Full performance build (tires, brakes, suspension, engine, turbo, gearbox): easily 100,000+ cash for a mid-tier car, far more for supercars
If you’re playing the official version, earning this kind of money takes real time — which is exactly why our how to earn money fast in CPM 2 guide exists. And if you’re choosing which car deserves the investment, read best cars in CPM 2 first — tuning the wrong car is the most expensive mistake in the game.